반응형
문제
다음 AbstractStack은 정수 스택 클래스로서 추상 클래스이다.
class AbstractStack {
public:
	virtual bool push(int n) = 0; //스택에 n을 푸시한다. 스택이 full이면 false 리턴
	virtual bool pop(int& n) = 0; //스택에서 팝한 정수를 n에 저장하고 스택이 empty이면 리턴
	virtual int size() = 0; // 현재 스택에 저장된 개수 리턴
};
이를 상속받아 정수를 푸시, 팝하는 IntStack 클래스를 만들고 사용 사례를 보아라.
소스코드
#include<iostream>
using namespace std;

class AbstractStack {
public:
	virtual bool push(int n) = 0; //스택에 n을 푸시한다. 스택이 full이면 false 리턴
	virtual bool pop(int& n) = 0; //스택에서 팝한 정수를 n에 저장하고 스택이 empty이면 리턴

	virtual int size() = 0; // 현재 스택에 저장된 개수 리턴
};

class IntStack : public AbstractStack {
	int* data;
	int s, top;
public:
	IntStack(int s) {
		this->s = s;
		data = new int[s];
		top = -1;
	}
	~IntStack() { delete[] data; }
	void show() {
		for (int i = top; i >= 0; i--)
		{
			cout << data[i] << " ";
		}
		cout << endl;
	}
	virtual bool push(int n) {
		if (top + 1 >= s)return false; //top size보다 같거나 크면 false리턴
		data[++top] = n; //아니라면 값을 넣은 후 true 리턴
		return true;
	}
	virtual bool pop(int& n) {
		if (top <= -1)return false; //top이 -1보다 같거나 작다면 false리턴
		n = data[top--];
		return true;
	}
	virtual int size() {
		return top + 1; //저장된 개수 리턴 0부터 시작하므로 +1
	}
};

int main()
{
	int size, menu, push, pop;

	cout << "스택의 크기는?>> ";
	cin >> size;

	IntStack stack(size);

	while (true) {
		cout << endl << "1. 푸시 2. 팝 3. 스택보기 4. 종료" << endl << "메뉴 선택>> ";
		cin >> menu;
		switch (menu) {
		case 1:
			cout << "push 할 값>> ";
			cin >> push;
			if (stack.push(push))
				cout << "push 완료" << endl;
			else
				cout << "push할 공간이 없습니다." << endl;
			break;
		case 2:
			if (stack.pop(pop))
				cout << "pop 완료 pop한 값 : " << pop << endl;
			else
				cout << "빈 스택입니다." << endl;
			break;
		case 3:
			cout << "스택 데이터 : ";
			stack.show();
			break;
		case 4:
			cout << "종료" << endl;
			exit(1);
		default:
			cout << "잘못 입력" << endl;
			break;
		}
	}
}
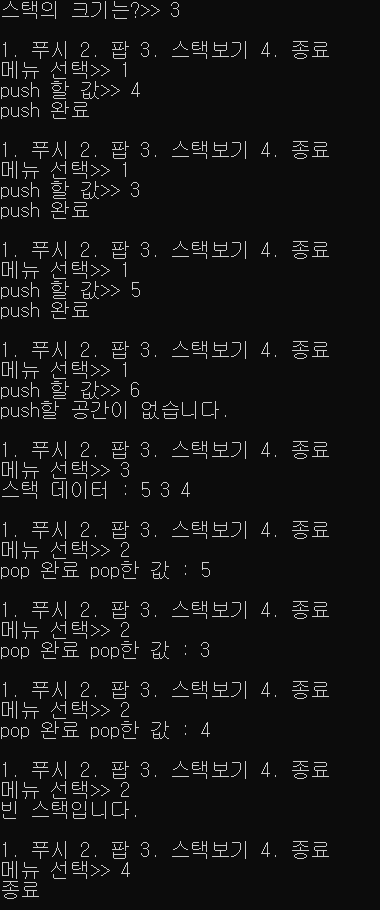
결과
반응형
'명품C++프로그래밍' 카테고리의 다른 글
| 명품 C++ Programming 실습문제 9장 9번 (1) | 2021.06.06 |
|---|---|
| 명품 C++ Programming 실습문제 9장 7, 8번 (0) | 2021.06.01 |
| 명품 C++ Programming 실습문제 9장 5번 (2) | 2021.06.01 |
| 명품 C++ Programming 실습문제 9장 4번 (1) | 2021.06.01 |
| 명품 C++ Programming 실습문제 9장 3번 (2) | 2021.06.01 |